

2D Graphics
Doriax has full support for 2D game development with sprites, tilemaps, primitive shapes, and dedicated 2D lighting with shadows, backed by the same ECS used for 3D.
Polygons
The Polygon object lets you build arbitrary 2D shapes from vertices. This is the
simplest way to draw something on screen.
#include "Doriax.h"
using namespace doriax;
#include "Polygon.h"

Scene scene;
Polygon triangle(&scene);

DORIAX_INIT void init() {
    triangle.addVertex(0, -100);
    triangle.addVertex(-50, 50);
    triangle.addVertex(50, 50);

    triangle.setPosition(Vector3(300, 300, 0));
    triangle.setColor(0.6, 0.2, 0.6, 1);

    Engine::setCanvasSize(1000, 480);
    Engine::setScene(&scene);
}
Sprites
Sprites display images on screen and are the building blocks of most 2D games. In the editor, the sprite slicer tool cuts a sprite sheet into individual frames you can use for animation.
Common sprite operations include:
| Operation | C++ method |
|---|---|
| Set size | setSize(width, height) |
| Set texture region | setTextureRect(rect) |
| Choose pivot | setPivotPreset(preset) |
| Register animation frame | addFrame(name, x, y, width, height) |
| Play frame range | startAnimation(startFrame, endFrame, interval, loop) |
Tilemaps
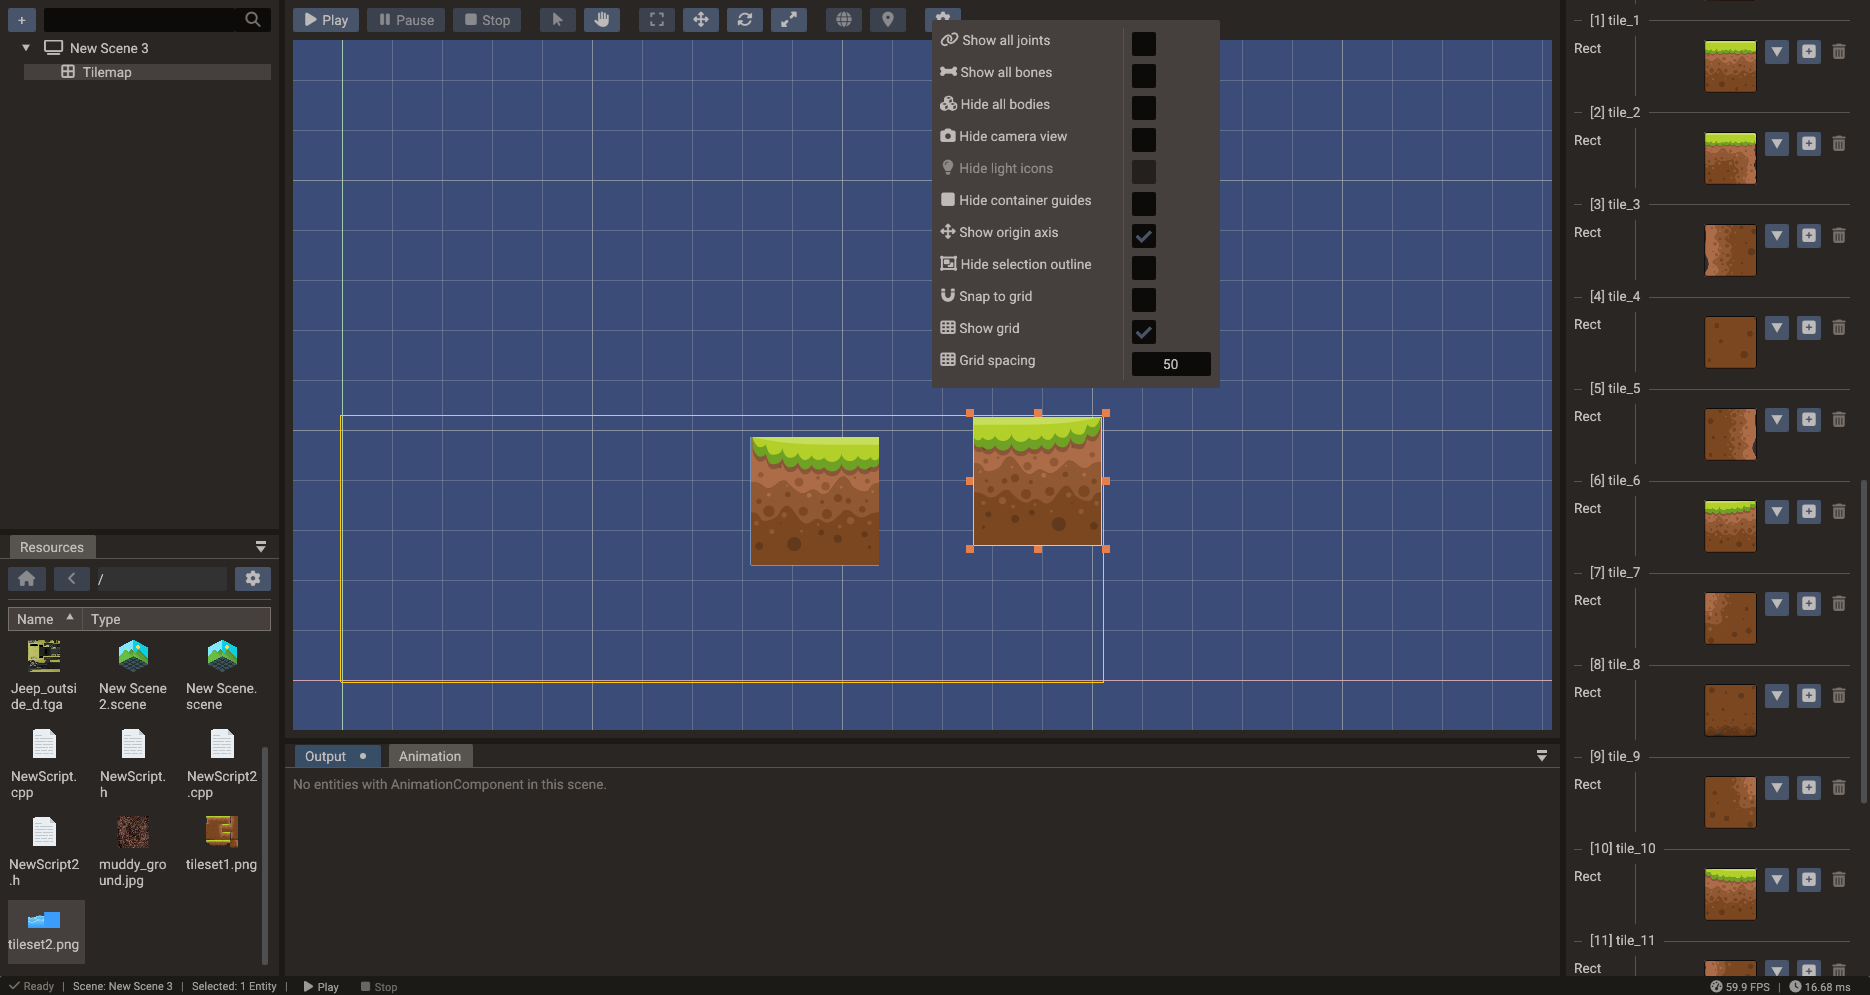
Tilemaps let you compose large 2D worlds from reusable tiles. Use the tileset slicer in the editor to cut a tileset image into tiles, then paint them into a tilemap in the scene view.
Tilemaps are designed for large grids of repeated texture regions. Keep individual tiles consistent in size, place collision on separate bodies when possible, and split very large worlds into scenes or chunks so editing and export remain fast. In the editor, turn on Snap tile in the scene view settings to snap placed tiles to their own size so they group edge-to-edge — see Scene View.
Rendering cost follows what the camera sees, not the size of the map: tiles are batched by texture and, on larger maps, grouped into spatial chunks that are frustum-culled individually, so a world far bigger than the screen only submits the chunks in view. A single tilemap renders up to 16 383 tiles — use several tilemaps beyond that.
2D lighting
2D scenes have their own lighting model, separate from the 3D PBR path: a Light2D is a point light living in the scene's XY plane with a radius falloff, designed for the classic 2D look — torches, lamps, day/night moods.
Light from every 2D light adds on top of the scene's 2D ambient light. Ambient defaults to full white, so a scene looks unchanged until you dim it — that darkness is what makes lights visible:
Key light properties:
| Property | Effect |
|---|---|
range |
Radius in world units; nothing beyond it is lit |
falloff |
Attenuation exponent — 1 linear, higher values concentrate light near the center |
height |
Virtual Z height of the light above the 2D plane, used for normal maps (see below) |
intensity / color |
Brightness and tint, added per light |
Sprites, tilemaps, and mesh polygons receive 2D light automatically (controlled by the Receive Lights flag on their Mesh component). UI objects are not affected. Up to 16 2D lights can be active at once. In the editor, add one from the create menu under 2D → 2D Light — selecting it shows its range circle in the scene view.
Normal maps on sprites
Set a normal texture on a sprite's material and give the light a height greater
than zero: the light then has a direction relative to the surface, and the normal map
produces relief shading that shifts as the light moves. With height = 0 the light is
purely radial and normals are ignored.
2D shadows
Shadows are cast by Occluder2D components. Each shadow-enabled Light2D renders the occluders around it into a small shadow map, producing radial shadows with optional soft edges.
An occluder has two shapes:
| Shape | Outline |
|---|---|
AUTO_QUAD |
The bounds of the mesh on the same entity — add the component to a sprite and it casts a shadow matching the sprite quad |
POLYGON |
A custom point list in local space, editable in the editor or via code |
torch.shadows = true
torch.shadowSoftness = 3.0

local crate = Sprite(scene)
crate:setTexture("crate.png")
crate:setSize(96, 96)
crate:getOccluder2D() -- AUTO_QUAD outline from the sprite bounds

local wall = Occluder2D(scene)
wall.position = Vector3(500, 200, 0)
wall:addVertex(-60, -20)
wall:addVertex(60, -20)
wall:addVertex(60, 20)
wall:addVertex(-60, 20)
torch.setShadows(true);
torch.setShadowSoftness(3.0f);

Sprite crate(&scene);
crate.setTexture("crate.png");
crate.setSize(96, 96);
crate.getOccluder2D(); // AUTO_QUAD outline from the sprite bounds

Occluder2D wall(&scene);
wall.setPosition(Vector3(500, 200, 0));
wall.addVertex(-60, -20);
wall.addVertex(60, -20);
wall.addVertex(60, 20);
wall.addVertex(-60, 20);
Shadow behavior:
- Each light's shadow darkens only that light's contribution — ambient light and other lights still reach the shadowed area.
shadowSoftnesson the light widens the penumbra (0= hard edges);shadowBiasfixes self-shadowing artifacts.- The scene-wide filter quality (
Scene::setShadow2DQuality) controls how smooth the penumbra looks:NONE,LOW(default),MEDIUM, orHIGH. Raise it if wide penumbras show banding — in the editor it's the Filter Quality combo under the scene's 2D Shadows settings. - Meshes opt out of receiving 2D shadows with the Receive Shadows flag.
In the editor, create one from 2D → 2D Occluder (a standalone polygon), or add an
Occluder2D component to an existing sprite for an AUTO_QUAD outline. Polygon
points can be dragged directly in the scene view
or edited as a list in Properties.
In code, Sprite::getOccluder2D() and Lua's sprite:getOccluder2D() are the
convenience path for adding that AUTO_QUAD occluder directly to a sprite entity.
For how the technique works under the hood, see Rendering Pipeline — 2D lighting.
Screen scaling
For 2D games it is important to decide how the canvas scales to different screen sizes
and aspect ratios. Doriax provides scaling modes so your game looks correct across
devices and window sizes — configure the canvas size and scaling behavior through the
Engine API.
| Scaling mode | Behavior |
|---|---|
FITWIDTH |
Match the configured canvas width and adjust height |
FITHEIGHT |
Match the configured canvas height and adjust width |
LETTERBOX |
Preserve aspect ratio with empty bands if necessary |
CROP |
Preserve aspect ratio and crop overflow |
STRETCH |
Stretch to the output size |
NATIVE |
Use the native output size |
For a full guide to scaling — including the scene-level fixed resolution setting that renders the game at a fixed internal size and upscales it (ideal for pixel-art games), see Multiple Resolutions.
Next steps
For 3D rendering, see 3D Graphics. To add interactions, see Physics.