First 3D Scene
This tutorial creates a complete small 3D scene and introduces the essential pieces of a Doriax 3D level: scene setup, camera, directional light, a 3D model, PBR materials, and optional collision.
What you will build
By the end of this tutorial you will have:
- A 3D scene with a model visible in the game camera
- Directional lighting with optional shadows
- A physics floor and optional collision on the model
- A script that rotates the object each frame
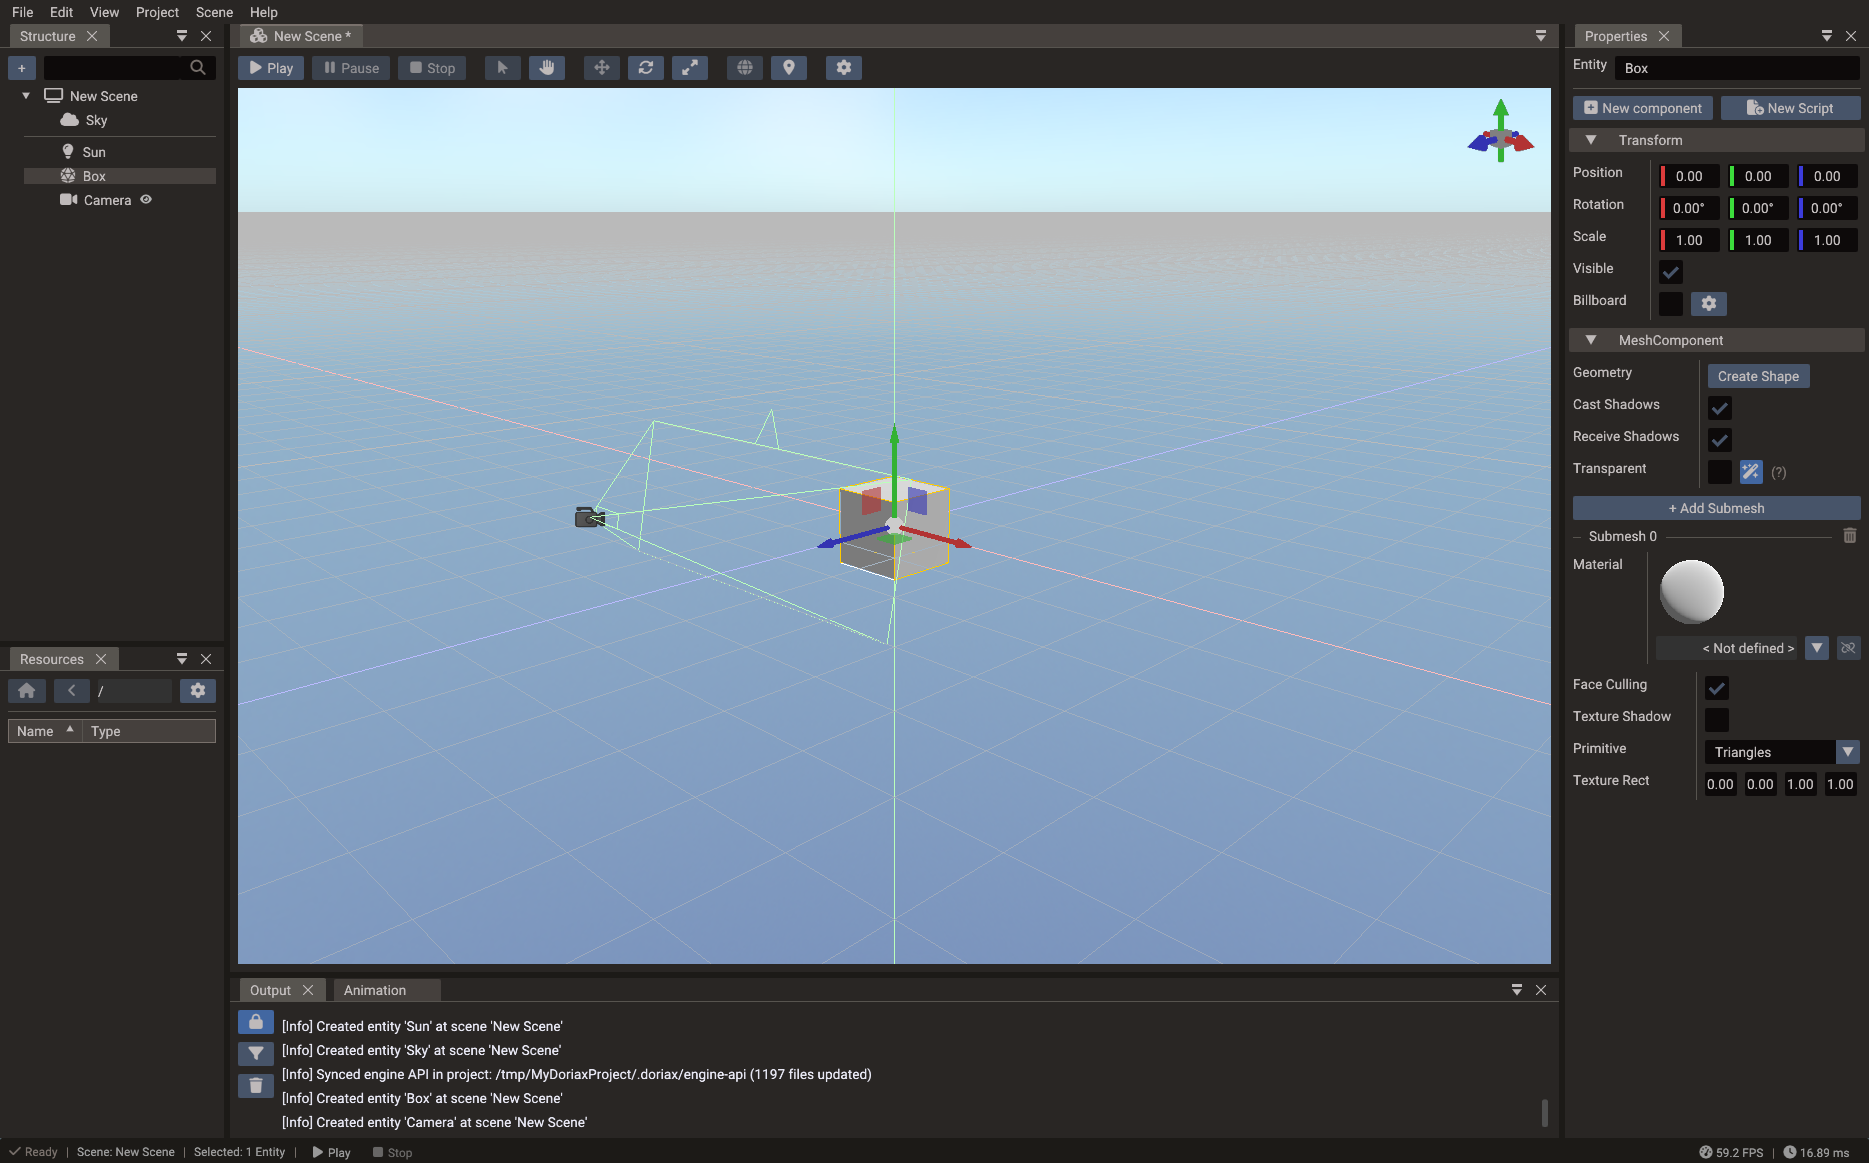
1. Create the project and scene
- Open the editor and choose New Project.
- Select the 3D template and pick an empty folder.
- Save the default scene immediately (Ctrl+S) and name it
main.
2. Set up the camera
The template creates a default camera entity. Select it and:
- Set Type to
PERSPECTIVE. - Position it at approximately
(0, 3, 8)facing the origin using the Properties window or by dragging in the viewport. - Set a Near plane of
0.1and a Far plane of200for a typical scene scale.
Use the viewport navigation to verify the camera preview. Press F with the camera selected to frame it in the editor view.
3. Add a directional light
- In the Structure panel, right-click and choose Create → Light.
- Set Light Type to
DIRECTIONAL. - Rotate it to approximately
(-45°, -60°, 0°)so shadows fall at a diagonal. - Set Intensity to
2.0and choose a warm white color (1.0, 0.95, 0.8). - Enable Shadows if you want the model to cast a shadow onto the floor.
Set the scene's Global Illumination to a low value (0.2, 0.2, 0.25) to prevent
completely black shadow areas.
4. Import and place a model
- Copy a GLTF file into your project's
assets/folder (or drag one from your OS file manager into the Resources Browser). - In the Resources Browser, drag the GLTF file into the scene view — a Model entity is created automatically.
- Use the Translate gizmo (W) to move the model to the origin.
- If the model appears very large or very small, adjust its Scale in the Properties window. GLTF files exported from Blender with default settings use meters — scale down if your scene uses smaller units.
5. Tune the materials
If the model carries its own GLTF materials, they appear automatically. To adjust them:
- Select the Model entity.
- In the Properties window, expand the Submesh material section.
- Adjust Roughness (lower = shinier), Metallic (0 = plastic, 1 = metal), and check that the Base Texture path is correct.
To reuse the same material on several objects later, drag the material preview from
Properties into the Resources Browser to create a .material file, then drag that file
onto other meshes. See Material files.
Tips:
- Roughness controls how wide the specular highlight is — 0.1 looks mirror-smooth, 0.9 looks matte.
- Metallic should only be 1.0 for actual metals; leave it at 0.0 for wood, stone, fabric, and plastic.
- Preview under both bright and dim lighting to catch texture issues early.
6. Add a script — rotating object
- Open File → New Script, choose Lua, and name it
Rotator. -
Replace the body with:
local Rotator = {} Rotator.__index = Rotator function Rotator:init() RegisterEngineEvent(self, "onUpdate") self.speed = 45 -- degrees per second self.angle = 0 end function Rotator:onUpdate() local obj = Object(self.scene, self.entity) self.angle = self.angle + self.speed * Engine.deltatime -- Quaternion(x, y, z) builds a rotation from Euler angles -- (in degrees, since Engine.useDegrees is true by default). obj.rotation = Quaternion(0, self.angle, 0) end return Rotator -
Select the Model entity, Add Component → ScriptComponent, add an entry for
scripts/Rotator.lua, and enable it.
7. Add a floor with collision
- Create a thin Mesh entity (or a Plane primitive) as the floor.
- Position it at
(0, -0.5, 0)and scale it wide. - Add Component → Body3D to the floor entity.
- Add a Box Shape that matches the floor's visual dimensions.
- Set Body Type to
STATIC.
Optionally add a Body3D with a convex or box shape to the model entity and set it to
DYNAMIC to see it react to gravity.
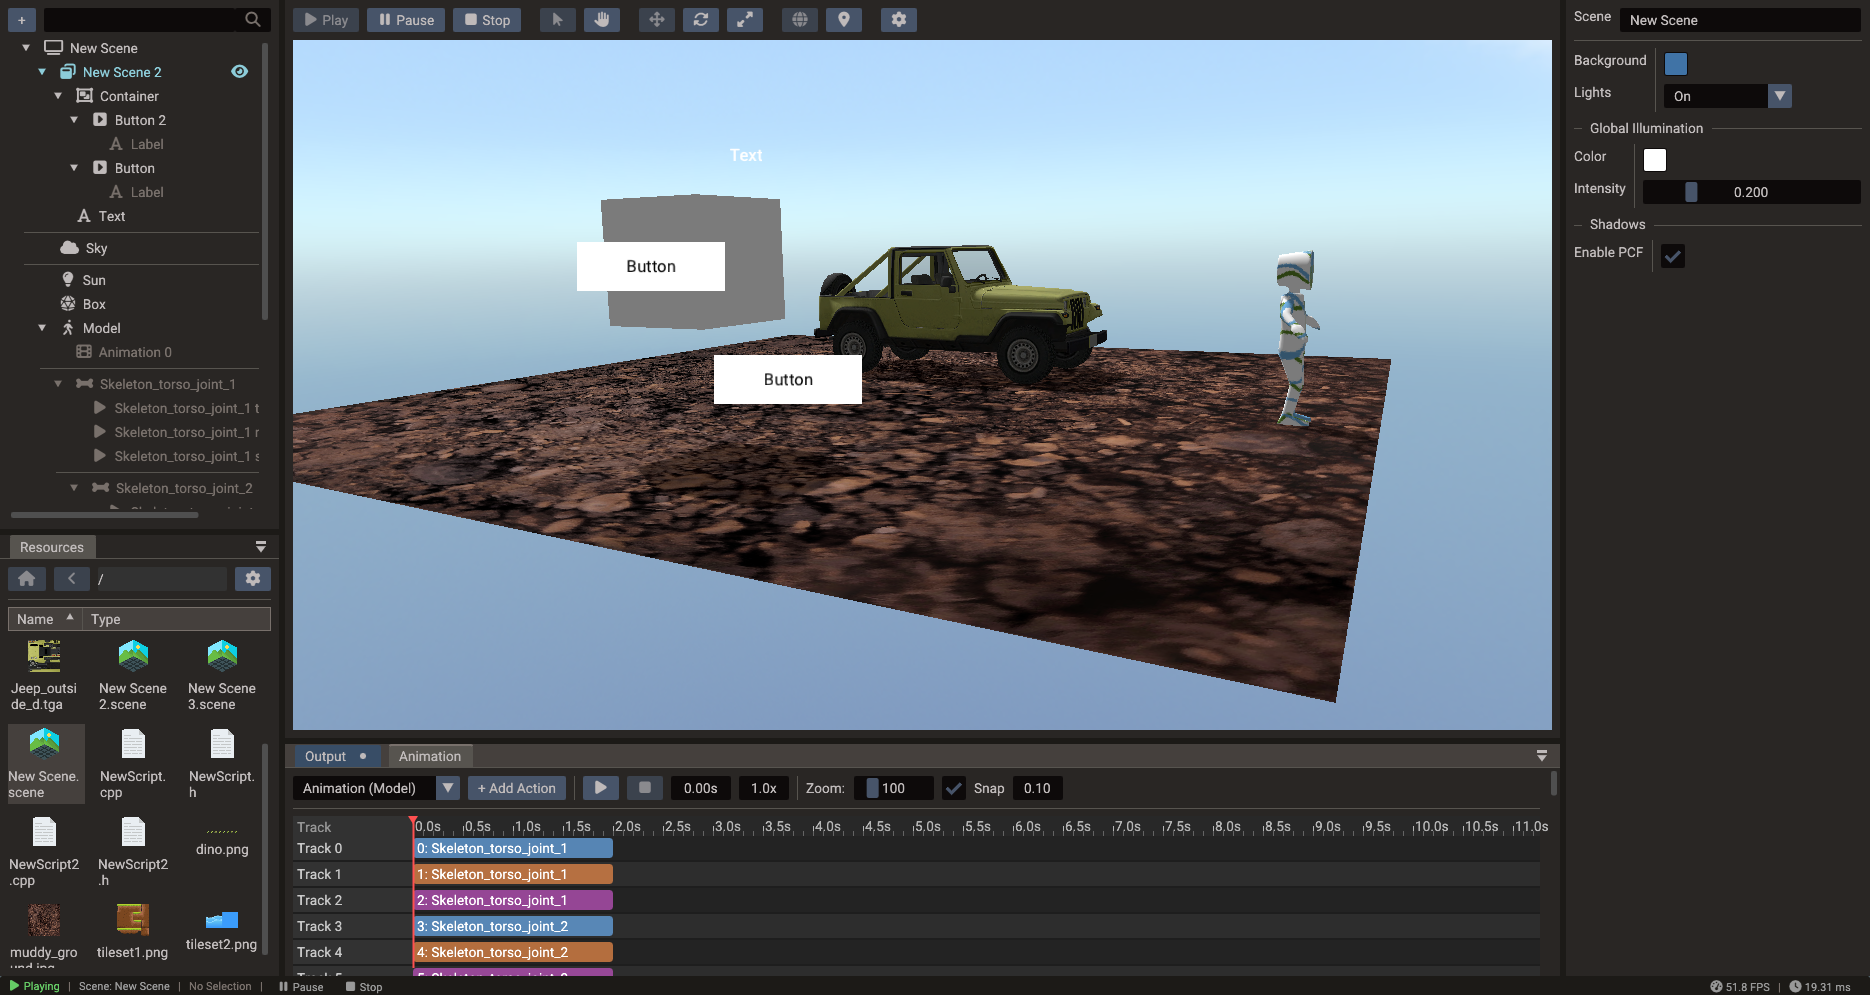
8. Run the scene
Press Play. The model should rotate and be illuminated by the directional light.
If the scene appears completely black:
- The light is enabled and has positive intensity.
- The scene's Light State is
ONorAUTO. - The model has materials with valid albedo textures or colors.
- The camera's Far plane is greater than the distance to the model.
- The camera is the active camera in the scene's Camera field.
Press Stop when done.
9. Next steps
- Add skeletal animation using the Animation Timeline.
- Add a Sky entity, enable Receive IBL on reflective meshes, and optionally hide the sky with Visible while keeping reflections: see Rendering Pipeline — IBL.
- Add fog for depth: see Rendering Pipeline.
- Add a UI overlay HUD: see First UI Scene.
- Continue with 3D Graphics and Physics.