First 2D Scene
This tutorial builds a complete small 2D scene from scratch and introduces the core workflow you will reuse in larger projects: create a scene, add entities, attach components, write a script, and test in play mode.
What you will build
By the end of this tutorial you will have:
- A 2D scene with a visible sprite
- A correctly configured orthographic camera and canvas
- A Lua script that moves the sprite with keyboard input
- A
Body2Dphysics body ready for collision
1. Create the project and scene
- Open the editor and choose New Project.
- Select the 2D template and pick an empty folder.
- The editor creates a default scene. If it is not already open, double-click it in the Resources Browser.
- Save the scene immediately: Ctrl+S, name it
main.
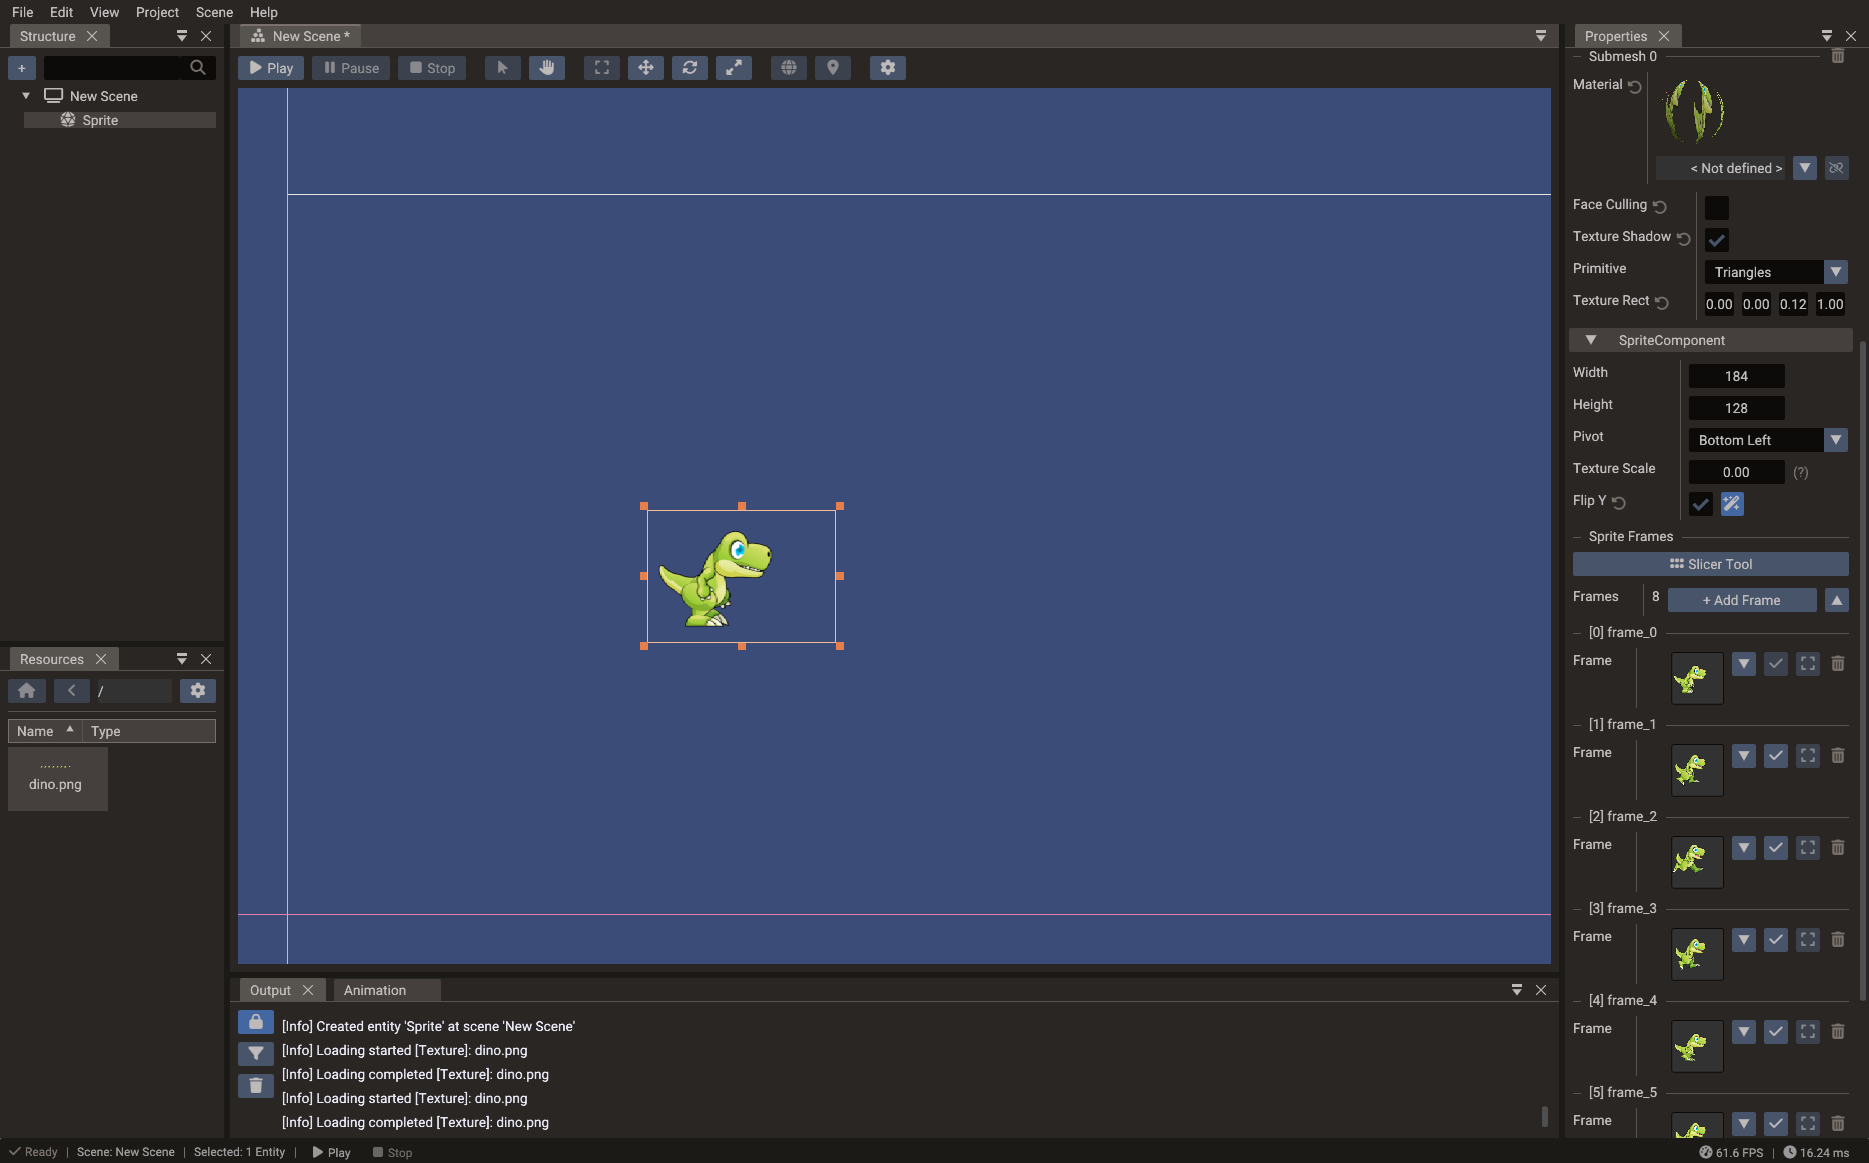
2. Add a sprite entity
- In the Structure panel, right-click and choose Create → Empty Object.
- A new entity appears in the hierarchy. Rename it
Playerin the Properties window. - With the entity selected, click Add Component and choose Sprite.
- In the Properties window, find the Texture field of the Sprite component and drag a PNG texture from the Resources Browser, or type its path directly.
- The sprite should now be visible in the scene view centered at the origin.
3. Configure the camera
The default 2D scene already has a camera entity. Select it and verify:
- Type is set to
CAMERA_ORTHO(orthographic). - Canvas size matches your design resolution, for example
1280 × 720. - Scaling mode is set to
LETTERBOXorFITWIDTH.
Move the camera so the sprite is visible in the camera preview.
4. Add a script
- Open File → New Script, choose Lua, and name it
Player. - The editor creates
scripts/Player.luawith a boilerplate class. -
Replace the body with the following movement code:
local Player = {} Player.__index = Player function Player:init() RegisterEngineEvent(self, "onUpdate") end function Player:onUpdate() local obj = Object(self.scene, self.entity) local speed = 200 -- pixels per second local dt = Engine.deltatime local pos = obj.position if Input.isKeyPressed(Input.KEY_LEFT) then pos.x = pos.x - speed * dt end if Input.isKeyPressed(Input.KEY_RIGHT) then pos.x = pos.x + speed * dt end if Input.isKeyPressed(Input.KEY_UP) then pos.y = pos.y + speed * dt end if Input.isKeyPressed(Input.KEY_DOWN) then pos.y = pos.y - speed * dt end obj.position = pos end return Player -
Select the Player entity in the scene.
- Add Component → ScriptComponent.
- In the ScriptComponent, click Add Entry, assign
scripts/Player.lua, and enable the entry.
5. Add physics (optional)
To make the sprite collide with walls:
- Select the Player entity.
- Add Component → Body2D.
- In the Body2D component, click Add Shape and choose Box. Set the size to match the sprite dimensions.
- Set the Body Type to
KINEMATIC(for a player controlled by script) orDYNAMIC(for full physics simulation).
Create wall entities with static Body2D and box shapes to block the player's
movement.
6. Run and test
Press Play in the toolbar. The sprite should be visible and respond to arrow key input.
If the sprite is not visible, check in order:
- The scene is set as active in project settings.
- The entity has a Sprite component with a valid texture path.
- The camera is a 2D orthographic camera and points at the origin.
- The canvas size and scaling mode are sensible for the editor window size.
- The script entry is enabled in the ScriptComponent.
Press Stop when done — the editor restores the scene to its pre-play state.
7. Next steps
- Add more sprites and create a tilemap background with the Tileset Slicer.
- Animate the player with the Sprite Slicer and
SpriteAnimation. - Add a HUD overlay using a UI scene.
- Continue with 2D Graphics, Input, and Physics.